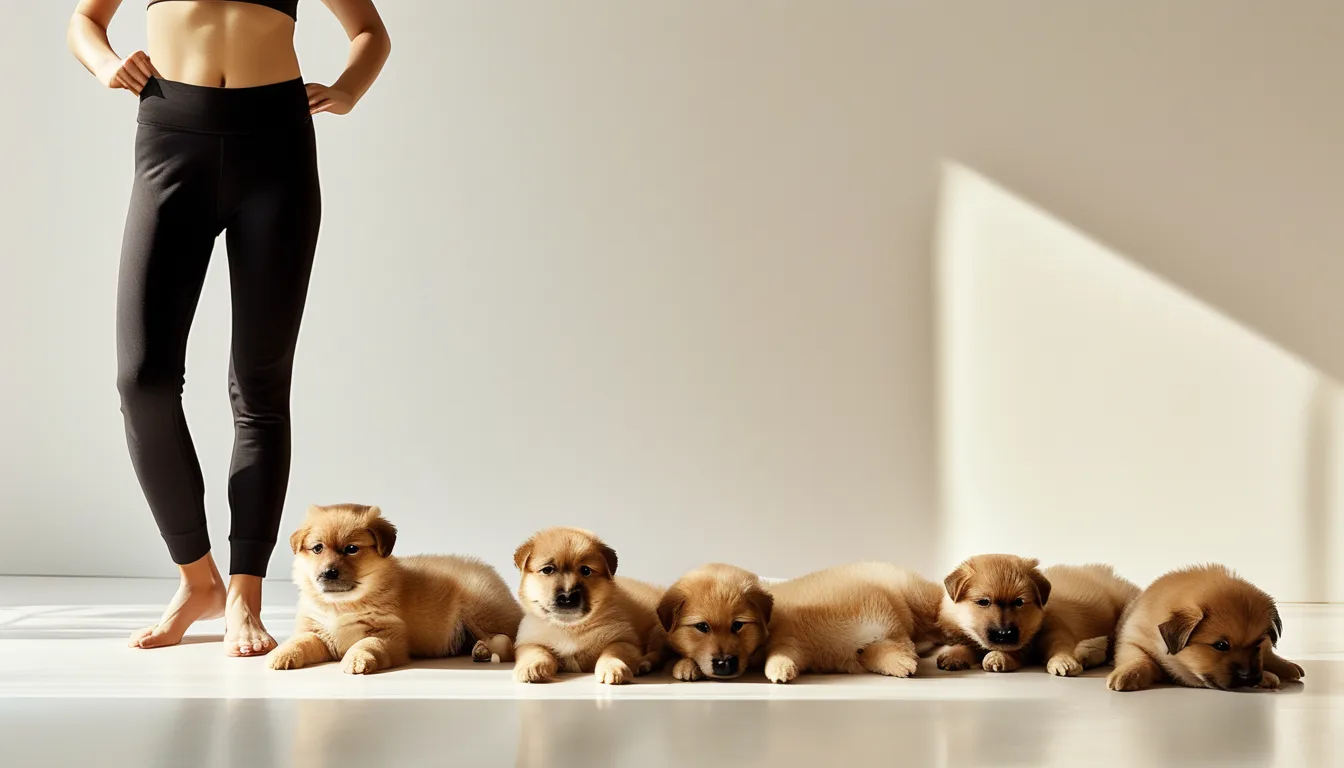
How to Photograph a Litter of Puppies Without Losing Any of Them (Working With Chaos)
Quick Answer: Photographing a full puppy litter successfully comes down to three things: physical containment (a small enclosed space so you’re managing chaos, not chasing it), timing around energy cycles (shooting right after a nap-to-wake window or right before a meal, never mid-zoomies), and capturing in bursts rather than waiting for one perfect posed shot. You will not get all five puppies looking at the camera at once through patience alone — you get it through volume and a few specific tricks.
If you’ve ever tried to line up an entire litter for one clean shot in your workout gear, you know the reality: the second you get puppy one settled, puppy two is already off-frame chewing on your shoelace, and puppy three has found the one thing in the yard you didn’t puppy-proof. It’s not a failure of planning — it’s just what five tiny, easily distracted creatures do. The good news is there’s a genuinely repeatable system for wrangling that chaos into content that actually works, and it has almost nothing to do with luck.
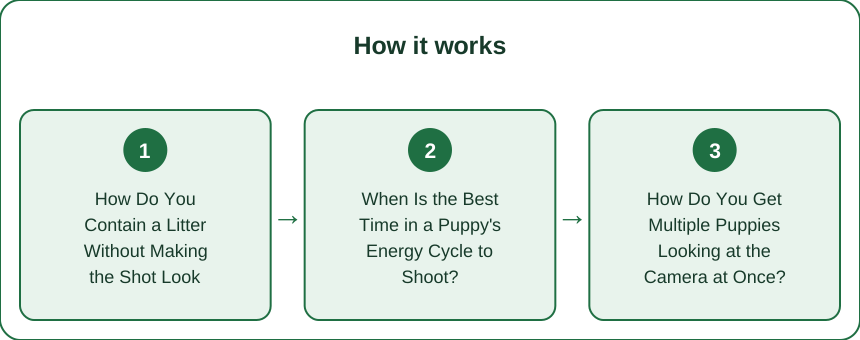
How Do You Contain a Litter Without Making the Shot Look Staged?
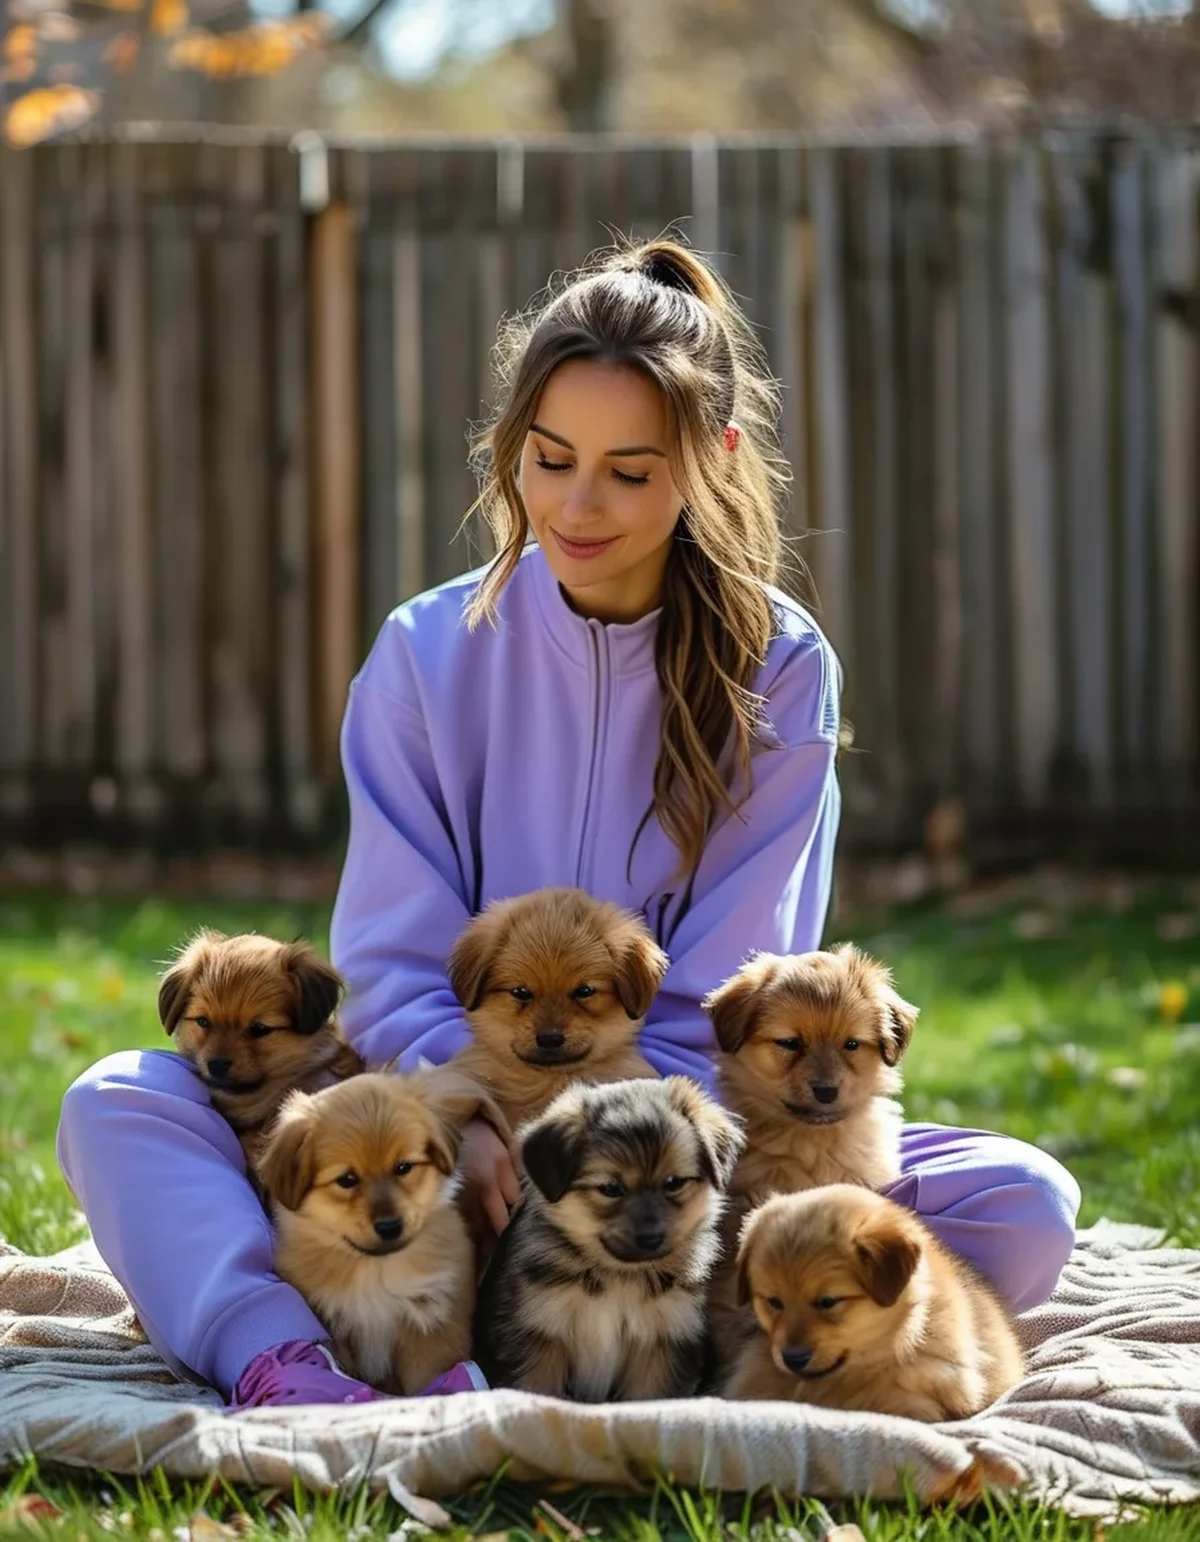
The single biggest lever for a successful litter shoot is shrinking the usable space before you ever pick up your camera. A full backyard or open living room gives five puppies five different directions to bolt in — a small enclosed area, like an exercise pen, a couch-cushion corral, or a bathroom with the door closed, gives them exactly one shared space to be curious in, which is where most of the “everyone in frame together” magic actually comes from.
The trick to keeping it from looking like a literal pen in your photos: use soft, natural boundaries instead of visible hardware. A low blanket-lined laundry basket wall, a ring of couch cushions, or shooting inside a doorway frame all create the same containment effect while staying out of the shot or blending into the background. Positioning yourself (in your workout set) as one wall of the “enclosure” — sitting cross-legged with your legs forming a loose barrier — is one of the most effective and camera-friendly containment methods, since it puts you in the frame naturally instead of needing to be cropped out later.
A second trick worth using: elevate the containment surface slightly, like a low platform, ottoman, or thick dog bed. Puppies are noticeably less likely to attempt an escape over a raised edge than across an open floor, buying you a few extra seconds of stillness per attempt.
When Is the Best Time in a Puppy’s Energy Cycle to Shoot?
Puppies cycle between short bursts of intense energy and sudden, deep naps, and shooting at the wrong point in that cycle is the number one reason litter photoshoots fail before they even start. Mid-zoomies is the worst possible window — you’ll get blur, bites, and bolting, no matter how good your containment setup is.
The best window is the 10-to-20-minute stretch right after waking from a nap, when puppies are alert and curious but haven’t yet ramped into full play-energy. They’ll investigate their surroundings (and you) at a pace slow enough to actually photograph, and their attention is more food- and novelty-driven than chase-driven, which makes them easier to redirect toward the camera.
A close second option: right before a scheduled meal, when hunger has them a little more food-motivated and food-focused, which you can use directly (more on that below) — but not so hungry that they’re frantic or fixated on each other over resource competition.
Avoid shooting right after a big play session (they’ll either be crashing into sleep or still amped up and unpredictable) and avoid the first few minutes in a brand-new space, since novelty triggers exploration mode over camera-cooperation mode. Give them two or three minutes to sniff around and settle before you start actually shooting.
How Do You Get Multiple Puppies Looking at the Camera at Once?
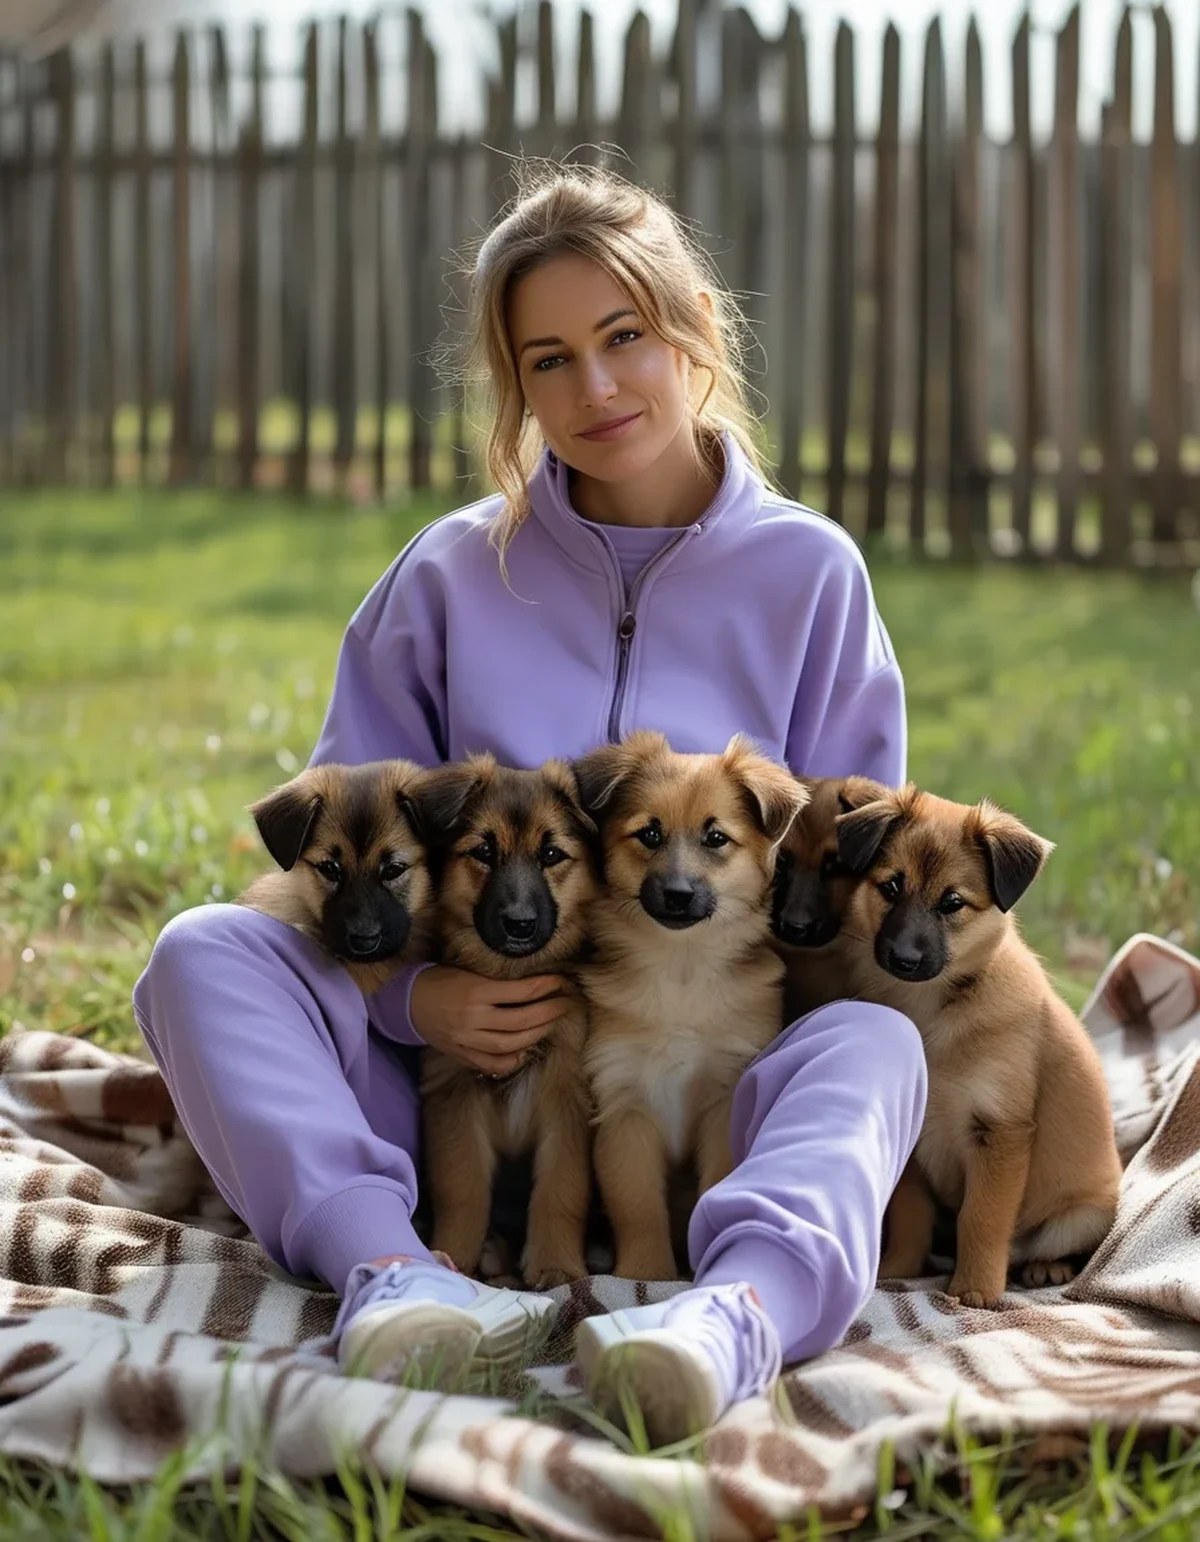
This is the shot everyone wants and almost nobody gets through patience alone — it takes a specific technique, not luck. Sound and food redirection, used together, is the most reliable method.
Position your camera or phone on a tripod or stable surface at the puppies’ eye level, not above them — shooting downward means you’re chasing five sets of eyes looking up at scattered angles, while eye-level shooting means their natural forward gaze lines up with the lens more often. Have a second person (or a hands-free setup) hold a small treat or a squeaky toy directly behind or beside the camera lens, at the exact height of the lens itself. When puppies orient toward a sound or a treat, they orient with their whole head, which puts their eyes roughly toward the camera as a side effect.
Shoot in continuous burst mode, not single shots. You are not trying to time one perfect click — you’re trying to capture the one out of thirty frames where enough heads happen to align. This is the volume-over-precision principle that makes litter photography actually tractable: professional litter photographers routinely take hundreds of frames to get one usable “everyone looking” shot, and that ratio is normal, not a sign you’re doing something wrong.
A subtle trick: your own gaze direction matters. Puppies often glance toward where you’re looking, so training your own eyes at the camera lens (rather than down at the puppies) during the shot attempt can nudge a few more of them to follow.
What Are the Real Safety Considerations Nobody Mentions?
A litter shoot involves genuine physical risk that’s easy to underestimate when you’re focused on getting the shot. Puppies underfoot are a real trip and drop hazard — if you’re moving around in workout gear trying to reposition, always scan the ground at your feet before every step, and avoid any pose that requires you to shift weight quickly (deep lunges, sudden stands) while puppies are loose nearby.
Overheating and overstimulation happen faster in a group than with a single puppy, since littermates amplify each other’s excitement. Keep sessions to 15–20 minute active blocks with breaks, watch for early signs of overstimulation (excessive mouthing of each other, frantic circling), and have water available even for a short indoor session.
Resource guarding around treats can appear even in young, otherwise easygoing littermates once food enters a group setting — scatter small treats rather than hand-feeding one at a time in a tight cluster, to avoid triggering competition between puppies who are otherwise perfectly friendly one-on-one.
Finally, know your exit plan before you start. With five puppies in a semi-open space, have a designated “session over” cue (like opening a specific door or crate) that signals containment time, and never attempt a litter shoot without a way to physically block their exit routes if things get chaotic — a doorway, a baby gate, or a second person on standby all work.
FAQ: Photographing a Puppy Litter Questions, Answered
How many photos should I expect to take to get a few usable ones?
Plan for a ratio closer to 50:1 or even 100:1 for a full-litter “everyone looking” shot. Individual puppy shots and pairs come much easier, often 10:1 or better, so mix your shot list rather than only chasing the hardest composition.
Should I shoot indoors or outdoors for better control?
Indoors (or a small fenced outdoor pen) gives you far more containment control and more consistent, diffused light near a window. Open outdoor spaces look beautiful but make chasing and redirection much harder with a full litter.
What if one puppy in the litter is consistently the “escape artist”?
Position that puppy closest to you or in the most contained corner of your setup, and consider giving them a slightly higher-value treat to hold their attention a beat longer than their littermates — asymmetric management is normal and expected with litters.
How do I keep my own outfit looking clean through all of this?
Choose smooth, tightly knit activewear fabric over brushed or fuzzy textures going in — it resists fur pickup and claw snags better and wipes clean faster between shots, so you’re not stopping mid-session to deal with your own clothes.
TL;DR:
- Shrink the space with soft, natural containment — your own seated body works as one wall
- Shoot right after a nap-wake window or right before mealtime, never mid-zoomies
- Use eye-level camera position, sound/treat redirection, and burst mode — volume beats precision
- Budget real time for safety breaks, resource-guarding awareness, and a clear exit cue
The chaos never fully disappears — you just learn to build a system that photographs well around it.
Keep Reading
This article is for general informational and styling purposes only. Fit, sizing, and product availability may vary.